Understanding MiniDV and Its Significance
What is MiniDV?
MiniDV is a digital video format that gained popularity in the late 1990s and early 2000s due to its compact size and excellent video quality. MiniDV tapes, measuring 6.35 mm in width, were primarily used in consumer camcorders, allowing users to record and store video in a digital format. Each tape can hold up to 60 minutes of video at standard quality, making it an efficient choice for amateur and professional videographers alike. The digital nature of MiniDV means that videos recorded on these tapes retain a higher level of quality compared to their analog counterparts.
The Importance of Digitizing MiniDV Tapes
As technology evolves, the future of MiniDV tapes hangs in a delicate balance. While the tapes themselves were once the pinnacle of digital recording, the equipment to play them back has become increasingly scarce. Digitizing Minidv to digital format is crucial for preserving those precious memories stored on MiniDV tapes. Without conversion, these recordings risk degradation over time due to tape wear, magnetic field exposure, and other elements that can compromise the integrity of the media.
Common Challenges in MiniDV to Digital Conversion
Converting MiniDV to digital is not without its challenges. Users may encounter issues such as loss of video quality during the conversion process, difficulties in finding compatible playback equipment, and potential data loss if the tape has significantly degraded over time. Additionally, some may struggle with understanding the variety of software options available for conversion and editing, leading to confusion over which tools best suit their needs.
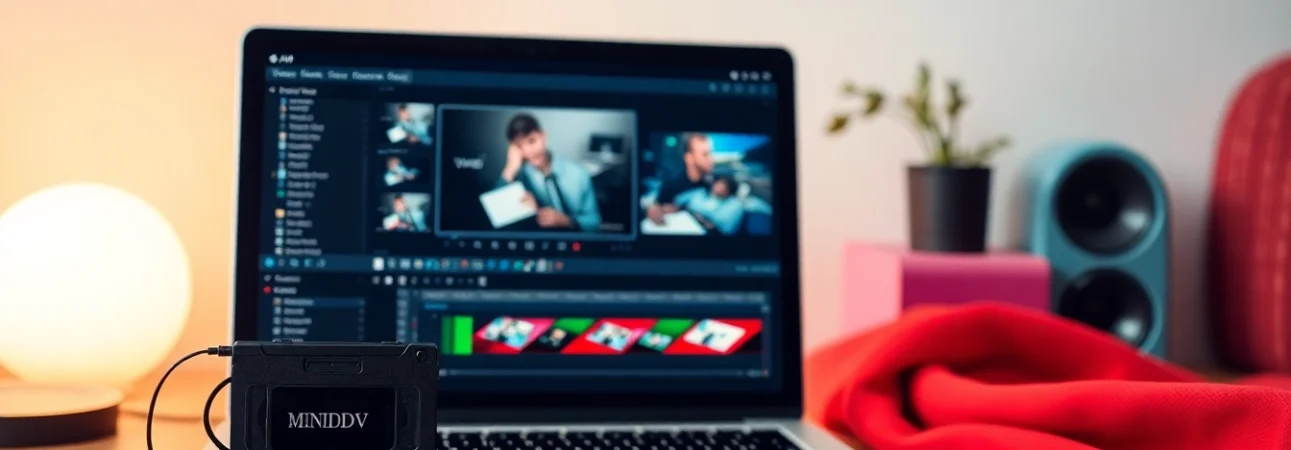
Essential Equipment for MiniDV to Digital Conversion
Choosing the Right MiniDV Player
To begin the conversion process, selecting an appropriate MiniDV player or camcorder is pivotal. Ideally, users should seek a high-quality MiniDV camcorder or a dedicated player known for reliability in video playback. Look for equipment that can play back the MiniDV format without issues, as any inconsistencies can significantly affect the quality of the digitized video. Moreover, camcorders equipped with FireWire output are preferred, allowing for a direct connection to a computer for seamless video capture.
Video Capture Devices: FireWire vs. USB
When it comes to transferring video from a MiniDV tape to a digital format, choosing the right connection type is crucial. FireWire (IEEE 1394) is the standard recommended for high-quality video transfers. It provides a fast and efficient data transfer rate, ensuring that the video is captured in its original quality. USB capture devices are also available but can sometimes introduce latency or compression artifacts, potentially reducing the video quality. For the best results, especially for preservation purposes, a FireWire connection is highly recommended.
Software Options for Editing and Conversion
Once the video is captured, various software options can be utilized to edit and convert the footage into a more accessible digital format. Software like Adobe Premiere Pro, Final Cut Pro, and even simpler platforms like iMovie can be effective. Each software offers unique features, such as the ability to cut and splice video, add transitions, and adjust audio levels. For users who prefer a more straightforward approach, dedicated conversion software, such as Pinnacle Studio or WinDV, can also streamline the process with built-in tools designed specifically for video conversion.
Step-by-Step Guide to Converting MiniDV to Digital
Preparing Your Setup for Conversion
Before starting the conversion process, ensure that all equipment is set up correctly. Begin by connecting the MiniDV player to the computer using a FireWire cable, making sure that the computer has the necessary drivers installed for smooth operation. Prepare the software by creating a new project and adjusting the settings to match the desired output format. Lastly, ensure that your workspace is clean and well-lit to facilitate the transfer process.
Executing the Transfer Process
With the setup complete, it’s time to begin the transfer process. First, insert the MiniDV tape into your player and fast forward to the beginning of your recording. Once ready, start playback in the player and simultaneously start the capture in your editing software. Monitor the transfer process to ensure that the playback is smooth, and that no dropped frames occur. After the tape has played through and the capture stops, review the footage for any anomalies before proceeding to editing.
Post-Conversion Editing Tips
After successfully digitizing your MiniDV footage, it’s time to edit. Begin by trimming any unnecessary segments from the beginning or the end of the video. Apply transitions or title screens where appropriate to enhance the viewing experience. If the audio quality requires attention, tools to reduce noise or adjust levels can significantly improve the final product. Once satisfied with your edits, ensure that you save the project in multiple formats to ensure compatibility across various devices.
Optimal Formats for Digitized Videos
Choosing the Best File Format for Storage
Selecting the best file format for your digital videos is crucial for both quality and accessibility. Popular formats include MP4, AVI, and MOV. MP4 is widely recognized for its balance between quality and file size, making it an excellent choice for most users. If archival quality is a priority, consider using formats like AVI, which maintain higher quality at the cost of larger file sizes. Ultimately, the choice should align with your intended use, whether for casual viewing, sharing online, or long-term storage.
Understanding Compression and Quality
Compression plays a significant role in video quality. While reducing file sizes is important for storage, it’s essential to strike a balance to avoid significant quality loss. Lossless compression retains all video data but results in larger file sizes, while lossy compression decreases file size at the expense of some quality. Understanding these nuances can help in making informed choices about how to store your digitized footage effectively.
Backing Up Your Digital Files Safely
Once your MiniDV footage has been digitized and edited, creating multiple backups is essential for safeguarding your memories. Utilize external hard drives, cloud storage, and even physical copies stored in a safe location to protect against data loss. Employing a systematic backup strategy ensures that even if one method of access fails, your precious memories remain intact and accessible.
Professional Services for MiniDV to Digital Conversion
When to Consider Professional Help
While many users prefer to digitize their MiniDV tapes themselves, professional help can be invaluable, particularly when dealing with tapes that are in poor condition or when high-quality preservation is a priority. Professionals often have access to superior equipment and expertise that can lead to a more reliable and higher quality conversion. If you feel hesitant about your ability to handle the process or want to ensure the best possible outcome, enlisting a professional service might be the best choice.
Comparing DIY and Professional Services
When weighing DIY versus professional services, various factors should be considered. DIY methods are typically more cost-effective and allow for greater control over the end product, but they require a certain level of technical understanding and access to equipment. Conversely, professional services provide a hassle-free solution, minimizing the risk of loss and maximizing quality, though they often come with higher costs. It boils down to your budget, your comfort level with the technology, and the significance of the tapes in question.
Finding the Right Service Provider for Your Needs
When seeking professional services for digitizing MiniDV tapes, look for providers with a proven track record and positive customer reviews. It’s essential to understand their process, including how they handle the tapes, the technology they use, and their data security measures. Many services also offer additional features, such as editing and formatting options, so be sure to inquire about those as well. Ultimately, choosing a service that aligns with your needs and priorities will yield the best outcomes for your video preservation.